
Page 167 - Computer - 9(A&B)
P. 167
Session 5
Working with Lesson Editor in RapidTyping Software
Lesson Editor in RapidTyping application allows the user to create their own course or to modify the existing
course as per the users need.
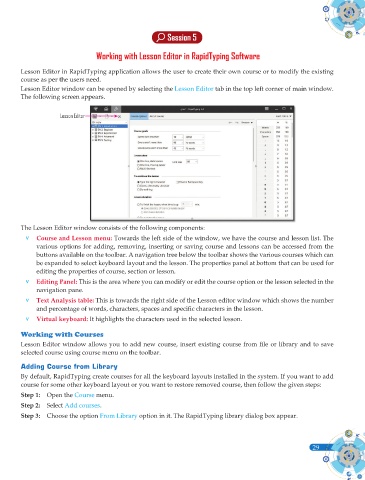
Lesson Editor window can be opened by selecting the Lesson Editor tab in the top left corner of main window.
The following screen appears.
Lesson Editor
The Lesson Editor window consists of the following components:
v Course and Lesson menu: Towards the left side of the window, we have the course and lesson list. The
various options for adding, removing, inserting or saving course and lessons can be accessed from the
buttons available on the toolbar. A navigation tree below the toolbar shows the various courses which can
be expanded to select keyboard layout and the lesson. The properties panel at bottom that can be used for
editing the properties of course, section or lesson.
v Editing Panel: This is the area where you can modify or edit the course option or the lesson selected in the
navigation pane.
v Text Analysis table: This is towards the right side of the Lesson editor window which shows the number
and percentage of words, characters, spaces and specifi c characters in the lesson.
v Virtual keyboard: It highlights the characters used in the selected lesson.
Working with Courses
Lesson Editor window allows you to add new course, insert existing course from fi le or library and to save
selected course using course menu on the toolbar.
Adding Course from Library
By default, RapidTyping create courses for all the keyboard layouts installed in the system. If you want to add
course for some other keyboard layout or you want to restore removed course, then follow the given steps:
Step 1: Open the Course menu.
Step 2: Select Add courses.
Step 3: Choose the option From Library option in it. The RapidTyping library dialog box appear.
29